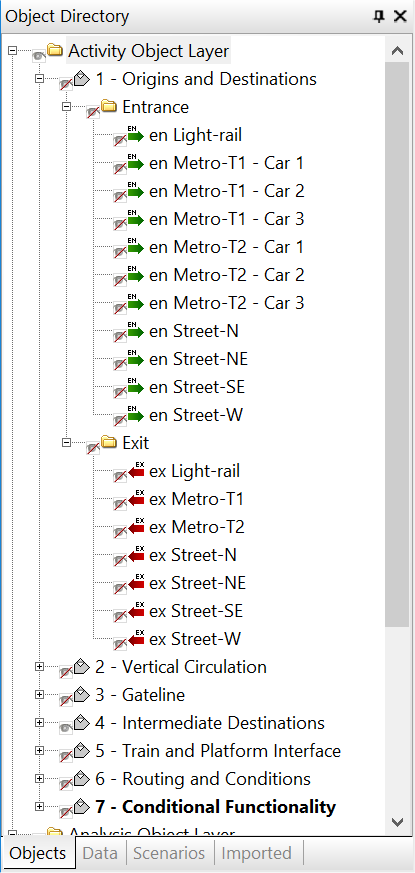
Object Directory
The Object Directory lists all the objects and data that you create, input or import while building your model. The different objects appear on the ‘Objects’ tab, ‘Data’ tab, ‘Scenarios’ tab and the ‘Imported’ tab. It is useful in several ways:
- It acts as an inventory of objects and data in your model.
- It enables you to make objects visible or invisible, which can be helpful when studying a complex model.
- It enables you to select any object in your model without having to locate it in the main window.
- It enables you to quickly view selected objects up close.
- It enables you to move or copy objects to other layers within your model.
- After importing the Data Template spreadsheet, it shows you at a glance which objects exist in the model and which are ‘pending’ (see What happens in the LEGION Model Builder after import? ).
The objects and data are displayed in a tree structure and sorted alphabetically. Click on the + and – icons to expand or close branches of the Object Directory.
To hide an object in the workspace, click on its adjacent eye icon to display a bar across it.
To show an object again, click the eye icon to remove the bar.
When you open a new model the Object Directory will be populated with three default layers: the Activity Object Layer, the Default Analysis Layer and the CAD Layer. When you add new objects to the model, they appear in the Object Directory in the relevant active layers.
To create more space, you can choose to ‘Auto Hide’ the Object Directory: just click on the small ‘push-pin’ icon next to its name. This will hide the directory until you click on its still-visible name tab. To turn off ‘Auto Hide’, click the push-pin icon again.
The ‘Imported’ tab
This tab contains all the objects (Spatial and Data) that you may have imported from the Data Template spreadsheet. In contrast to the tree-lists in the other tabs, this tree contains green ticks, red ticks and red crosses for each branch and for individual objects:
- A green tick indicates that an object exists in the model and if it is at the top level of a branch it means that all items in that branch exist in the model.
- A red tick indicates that some but not all members of a branch exist in the model.
- A red cross indicates that an object does not exist in the model and if it is at the top level of a branch it means that none of the items in that branch exist in the model.
For more information on importing the Data Template spreadsheet, see Importing a completed template.
Viewing by type or layer
The Object Directory enables you to view the contents of your model either by type or by layer. View by Type lists all the objects and layers within the model in an expandable tree structure; View by Layer lists only the layers in the model, which you can also expand to show the objects in each layer.
To view by type or layer: